Postman Form Data Bug File Upload Stale Reference
Install Postman
Get Postman from postman.com. In that location is an online version you can use, merely we recommend installing the desktop app.
Get customer credentials
To work with the Brightcove APIs, you volition need customer credentials for the account and API(south) you wish to use. Go you lot client credentials in Studio by following the directions in Managing API Authentication Credentials. In the steps below, nosotros will be making CMS API requests using Postman, so your credentials should have at least the post-obit permissions:
-
Video: Read/Write
Y'all can add equally many additional permissions as you like to go credentials that will be usable for a wider range of API requests. Also note that you get credentials that will work for multiple accounts if you lot like.
You tin employ this online app if y'all prefer. If you do, you lot demand to specify at to the lowest degree video-cloud/video/all permissions.
Get the OpenAPI spec
Although non required, yous tin greatly simplify the setup of Postman is to import the OpenAPI specification for the API y'all want to use. You can do this for whatsoever of the Brightcove platform APIs, but for this tutorial, nosotros'll use the CMS API.
To get the OpenAPI spec, simply become to the CMS API Reference and click the Download button:
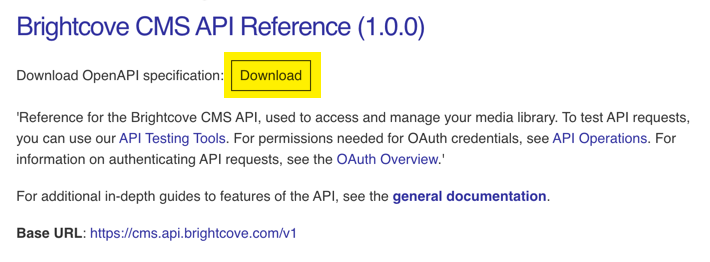
The downloaded file will exist chosen openapi.yaml
Import the OpenAPI Spec
The adjacent step is to launch the Postman app, then import the OpenAPI spec that you downloaded:
Open the Collection
As the API is imported, Postman will generate a collection of requests.
- Click Collections.
- Select the new CMS API drove:
- Expand the collection and click on the videos folder and select the Get Videos asking.
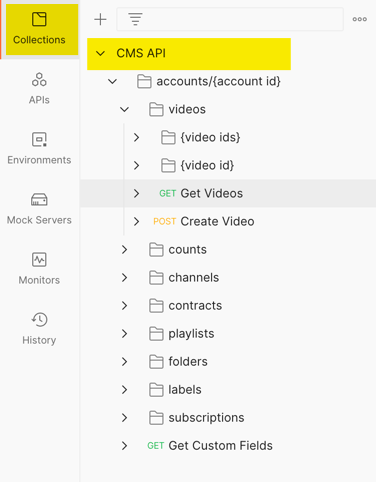
CMS API Drove 
Request Details
Notice that Postman has set upwards almost of the details for you from the API reference, including the request itself and the params that tin be added to information technology. It also provides the documentation for the parameters, let's you edit values, and uncheck the ones you practice not wish to send with the request.
You will still need to supply some data of your own, nevertheless, including the account id and authentication information. You lot can practice this on a request by request basis, merely the better way is to create an environment for the request, where you can store normally used information equally variables. We will do that in the next section.
Create an environs
The steps below will walk you through setting upwards an environment for the CMS API requests
- Click the Environment Quick Look icon, and so Add together:
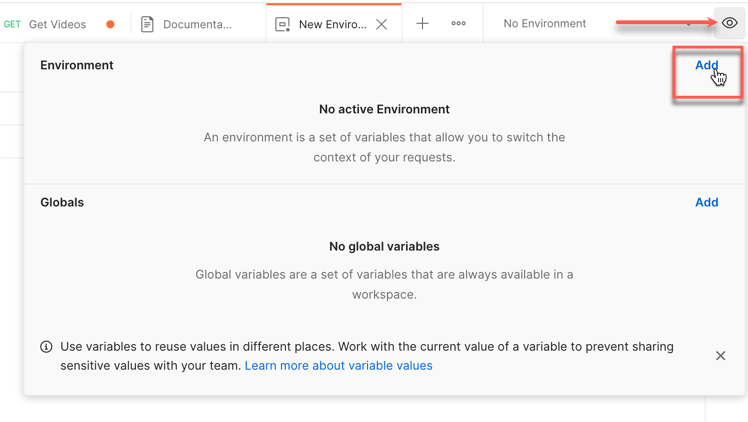
Create Environment - Edit the environment proper name, changing it to "Brightcove APIs" (you will exist able to use this environs for other Brightcove APIs every bit well, adding new variables to it as necessary).
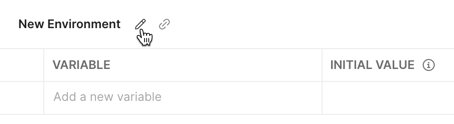
Edit Enviroment Proper noun - Click the text "Add a new variable", type in
account_id, and so click in the INITIAL VALUE field and enter your Video Cloud account id (and then do the same for CURRENT VALUE):
Enter Variable - Repeat the previous step to add boosted variables:
Environment Variables Variable Initial Value client_id(your client id - run across Get Client Credentials above) client_secret(your client clandestine - meet Go Client Credentials above) access_token_urlhttps://oauth.brightcove.com/v4/access_token - Click Save to save the environs:
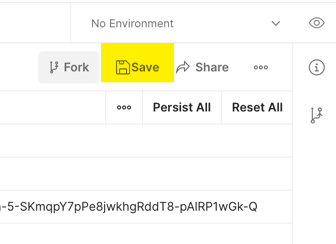
Relieve Environment - Become dorsum to your Brightcove CMS API drove and select the surround you created from the environment selector:

Environment Selector
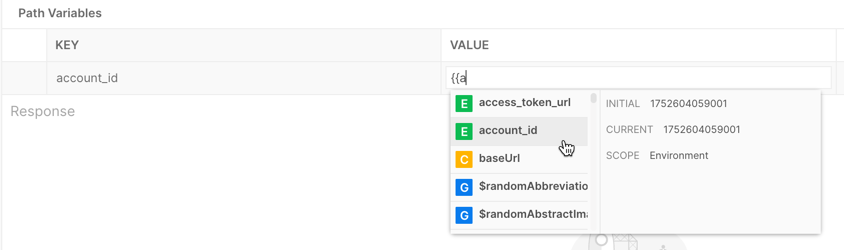
Surround variables can exist referenced by enclosing them in double curly braces - case: {{client_id}}. Postman helps you lot with auto-completion when you type "{{...". Y'all can endeavour this by going back to the Get Videos asking and first typing "{{a" in the Value field for the Path Variable account_id:
Enable requests
Now that you accept the environment set up, you tin utilize the variables to test requests. We will wait at the Get Videos asking offset.
- If you did not already do then, enter {{account_id}} for the value of the
account_idPath Variable. - Click the Authorization tab for the request:
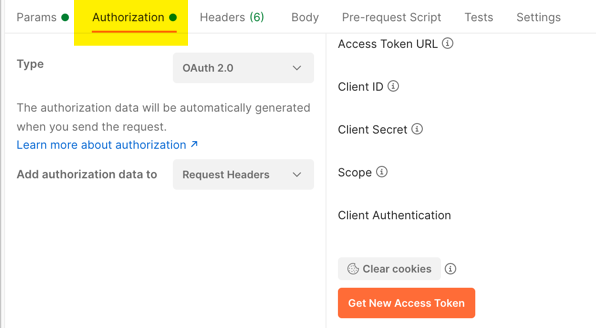
Auth Tab - Under Configuration Options, change the Grant Blazon to Client-Credentials:
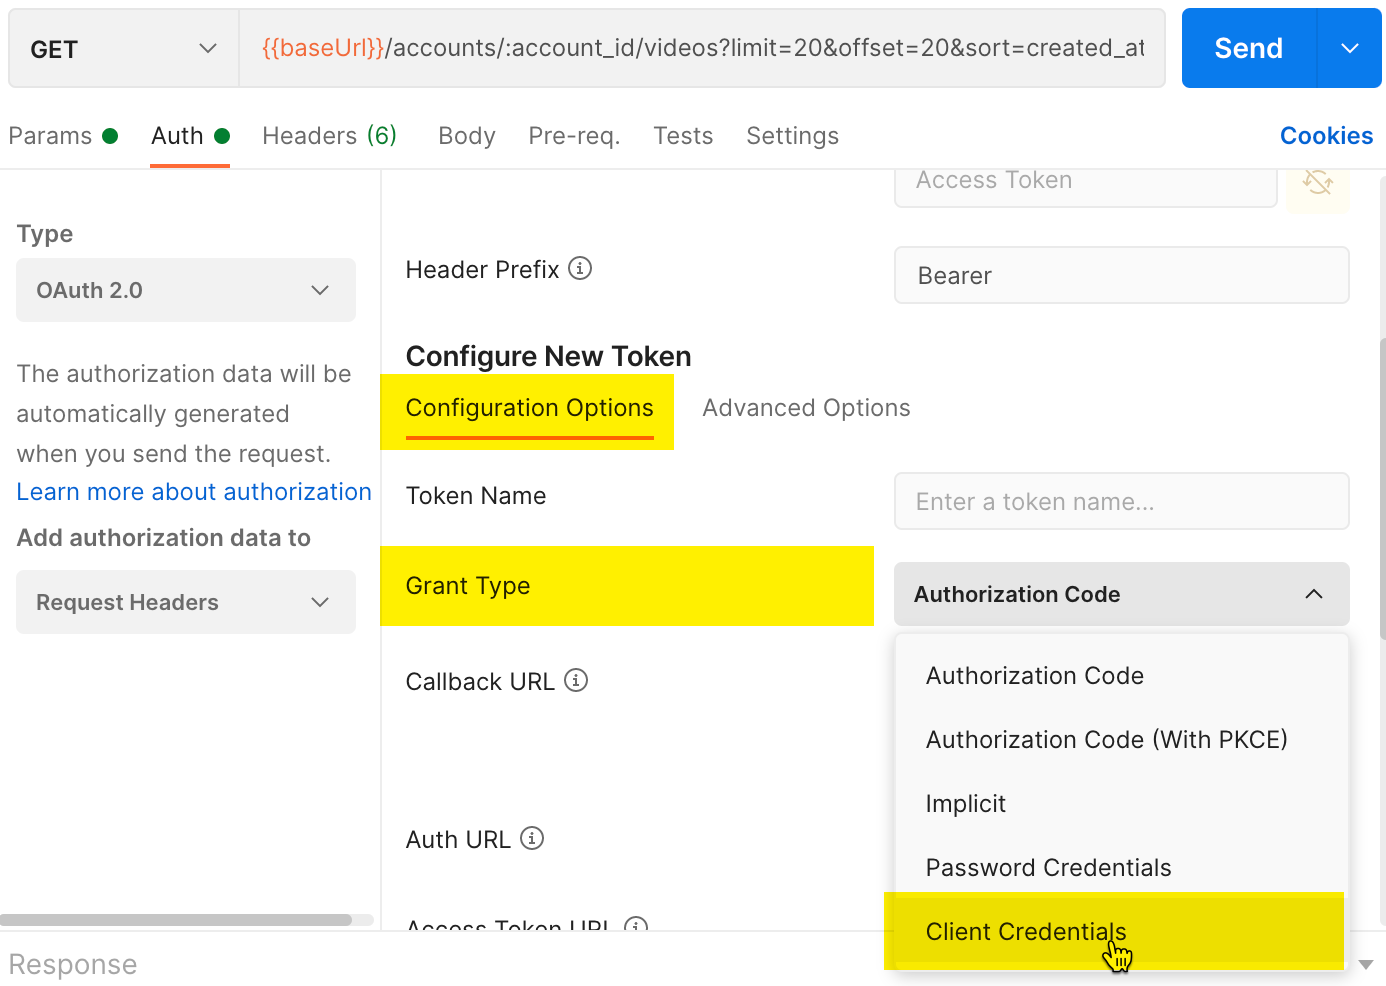
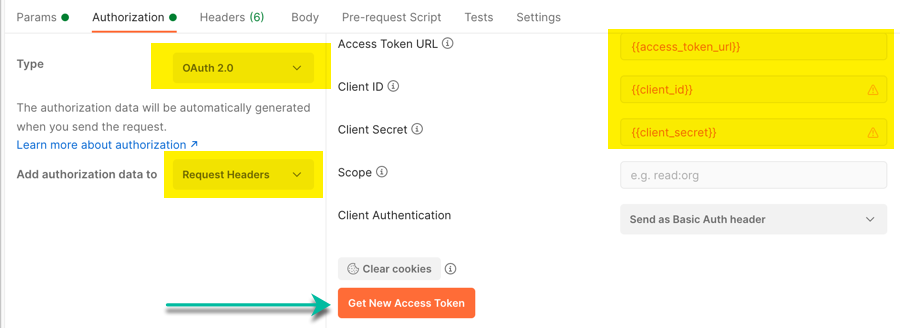
Auth Grant Type - Enter the post-obit variables from your environs in the appropriate fields:
- Admission Token URL:
{{access_token_url}} - Client ID:
{{client_id}} - Client Secret:
{{client_secret}}
- Admission Token URL:
- Click Get New Access Token:
Authorization Setup - When the dominance is complete, yous can click Proceed or wait for the token to appear. And so click Employ Token:
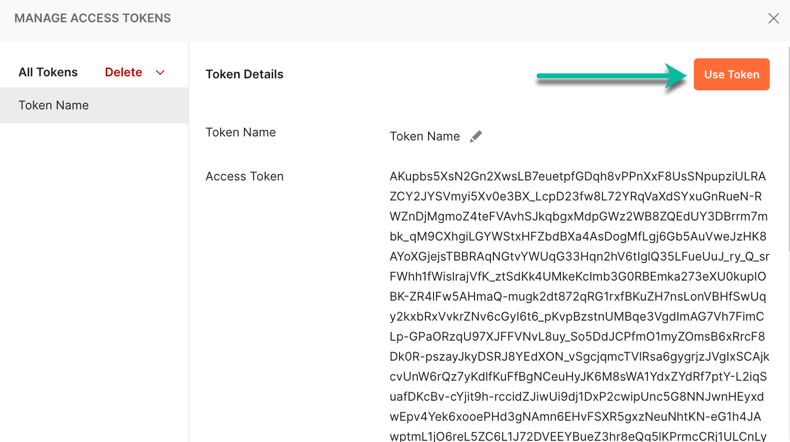
Manage Access Tokens
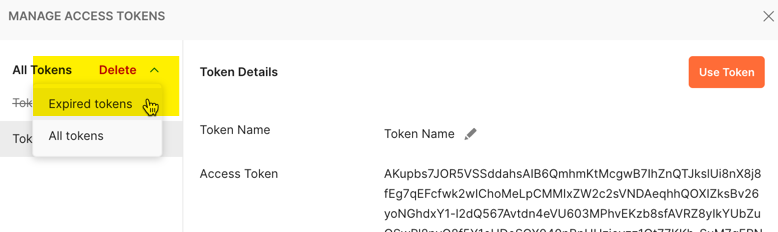
Note that Brightcove access tokens expire afterwards five minutes. Depending on what you are doing and how quickly, you may be able to use the same access token several times. When it expires, the CMS API will render an unauthorized mistake:
[ { "error_code": "UNAUTHORIZED", "message": "Permission denied." } ] (The exact form of the message may vary for other APIs, only it volition exist similar.)
When this happens, but return to the Authorization tab and asking a new token. Yous should also delete any expired tokens to avoid confusion, as they are of no further value.
Brand requests
Yous are now prepare to brand a Get Videos asking.
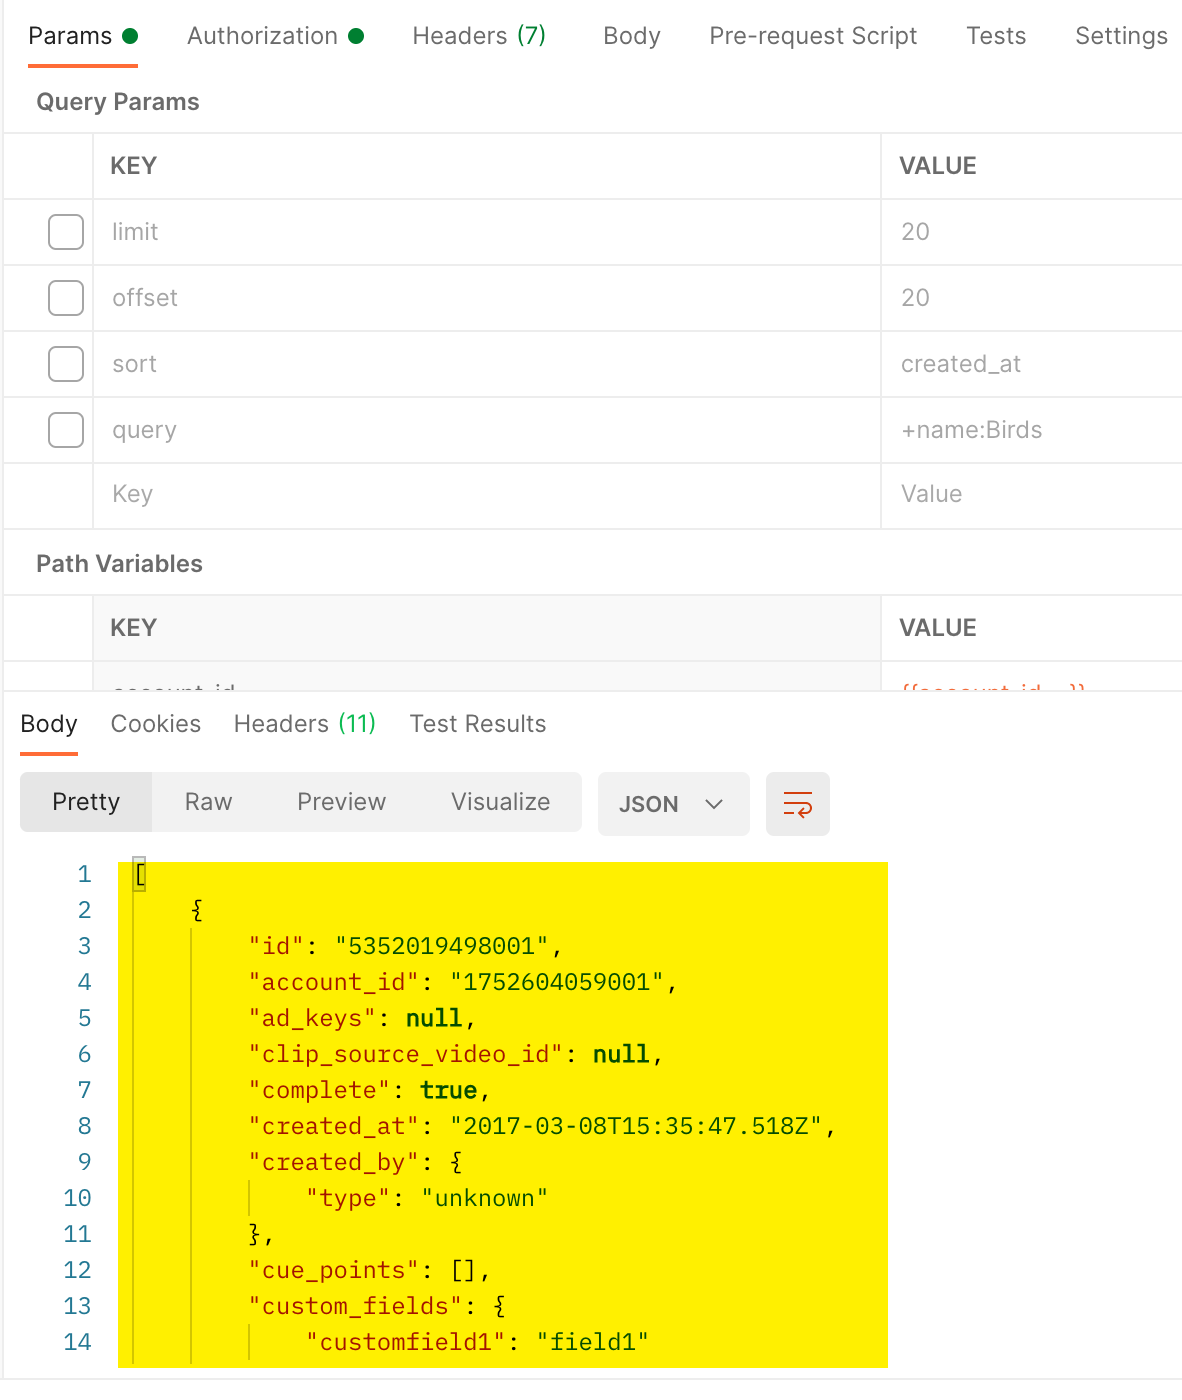
- Become back to the Params tab and uncheck all the Query Params (you lot can utilise them, of course, and change the values, simply nosotros volition but use the default values for this first examination).
- Click Send.
- You should run into JSON code appear in the response area below (an array of video metadata objects):
Response Data - Now we will try a write request (Create Video). Select that request in the collection:
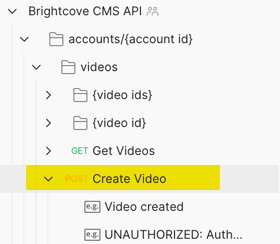
Create Video Request - You lot will over again demand to enter
for the Account ID Path Variable. Yous will NOT demand echo the steps in the previous section to set up authorization, because Postman transfers these settings to other requests in the drove. Withal, you will still need to generate a new access token. - Next, become to the Body tab, where yous volition encounter a sample request body from the API reference:
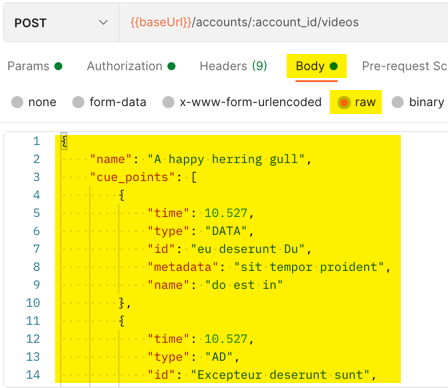
Sample Request Body - This JSON is editable. The but required field for a Create Video request is the
proper noun, so change that value to "Test Video" and remove the rest of the JSON so that your asking body is:{ "name": "Test video" } - At present click send (getting a new admission token if you need one), and you should come across the metadata object for the new video announced in the response surface area.
- Testing Tools for Brightcove APIs
- Hallmark for API Requests
- Online API Tester
- Use Insomnia for API Requests
snoddycitionabous77.blogspot.com
Source: https://apis.support.brightcove.com/general/use-postman-api-requests.html
Post a Comment for "Postman Form Data Bug File Upload Stale Reference"